How to install the etracker plugin for Shopware in just a few steps
1. Download the etracker plug-in for Shopware 5 (the plug-in for Shopware 6 will appear shortly).
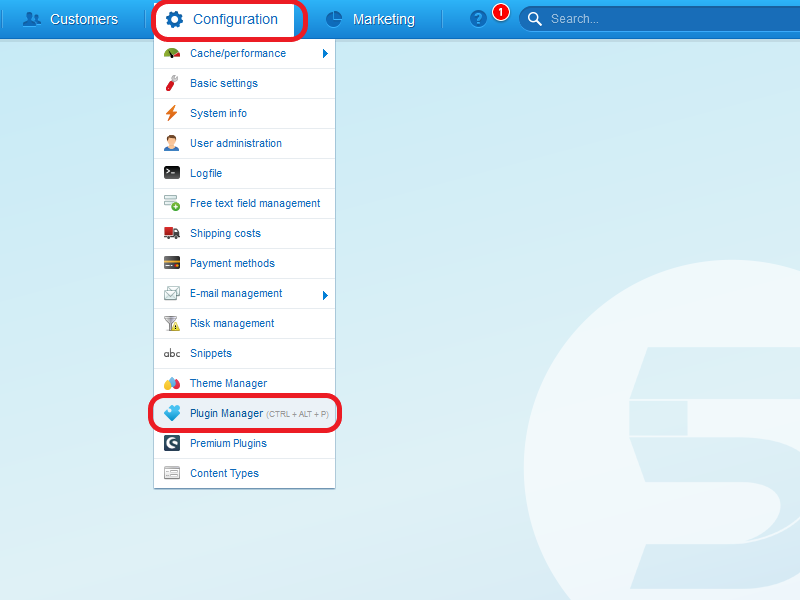
2. Log in to the Shopware backend and call the Plugin Manager in the Configuration menu.
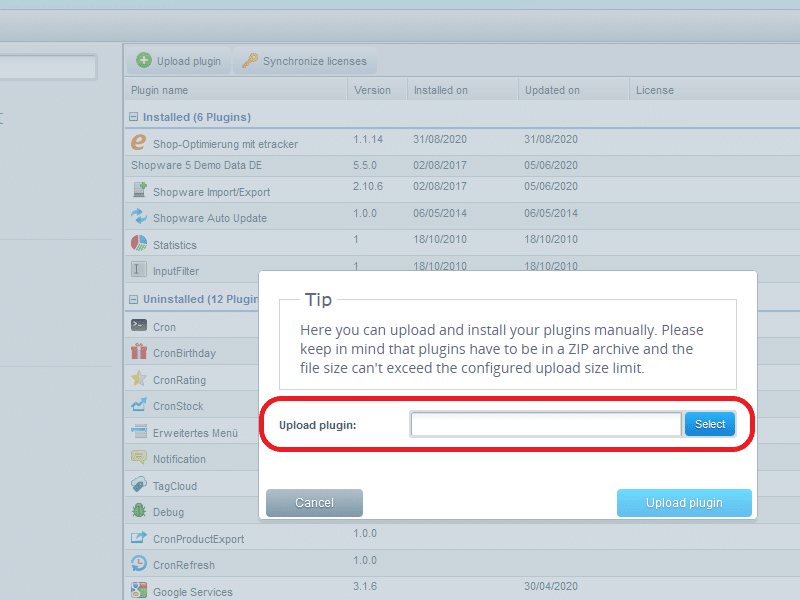
3. Go to Installed and then to Upload plugin.

4. In the following dialog box select the zip file with the etracker plugin and install it by clicking on Upload plugin.
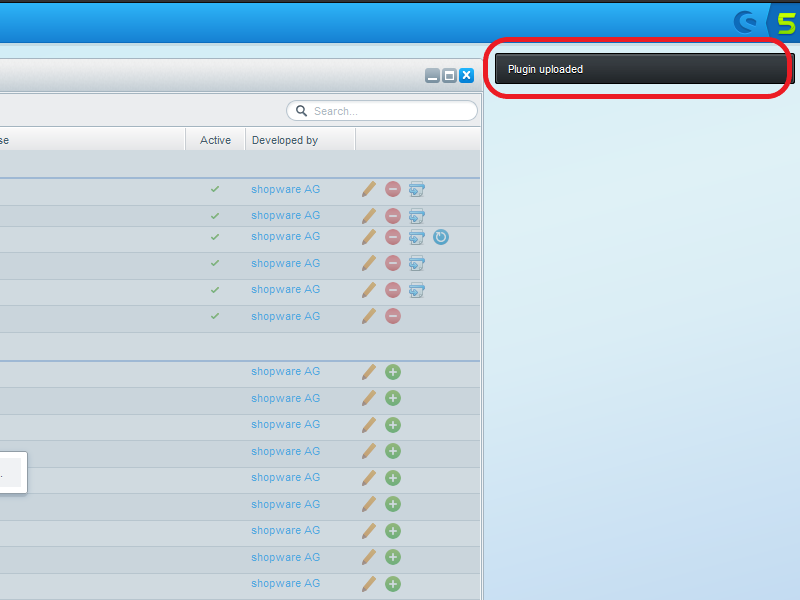
5. The notification field Plugin uploaded appears on the top as confirmation.
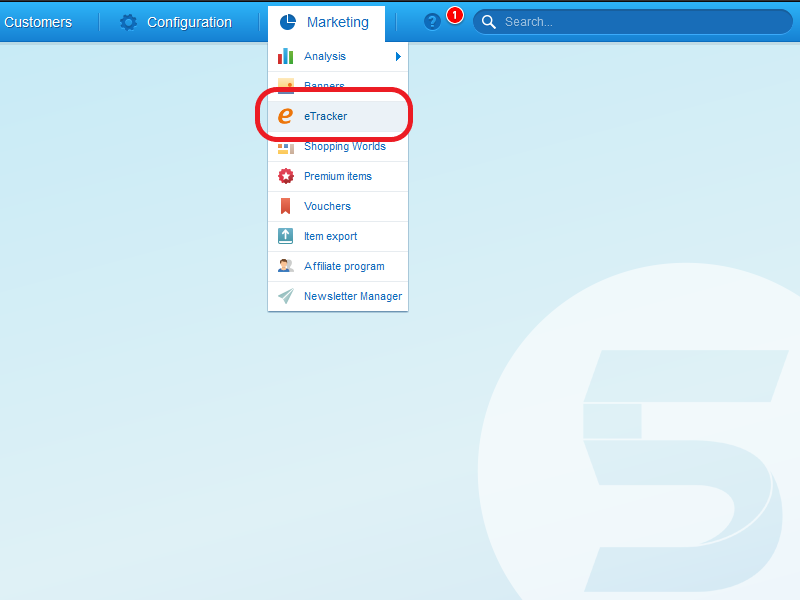
6. Finally only your etracker account key must be inserted in the plugin settings in the marketing menu and the plugin is ready for use. You find your etracker account key in your etracker account under Account Info → Settings → Account → Account key.
The etracker plugin offers you these settings
Log in to the Shopware backend and go to etracker in the Marketing menu.
If the menu item is missing, the plugin must first be installed. We will show you how to do this here.
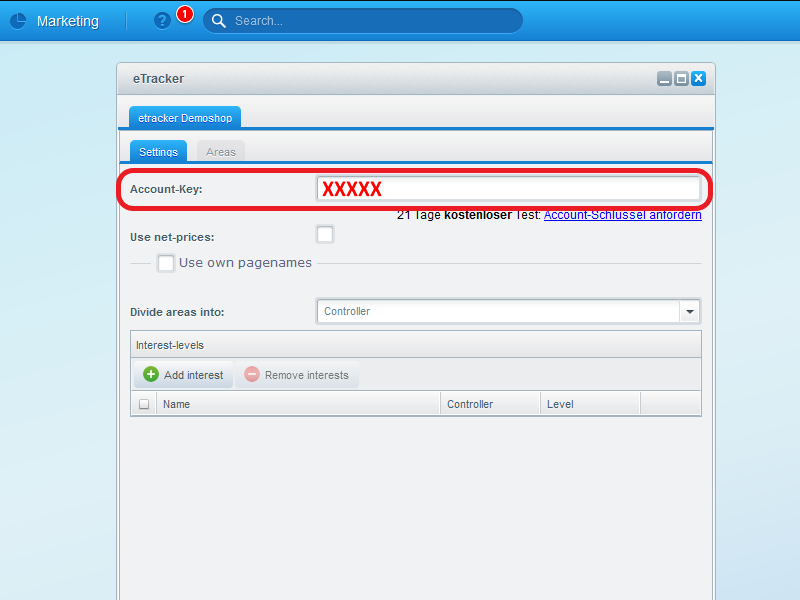
First enter your etracker Account-Key in the Settings tab.
Areas are usually formed from the directory names of the URL between two “/”. The plugin offers the possibility to define the areas yourself.
To do this, select the option Divide areas into in the drop-down list Own areas.
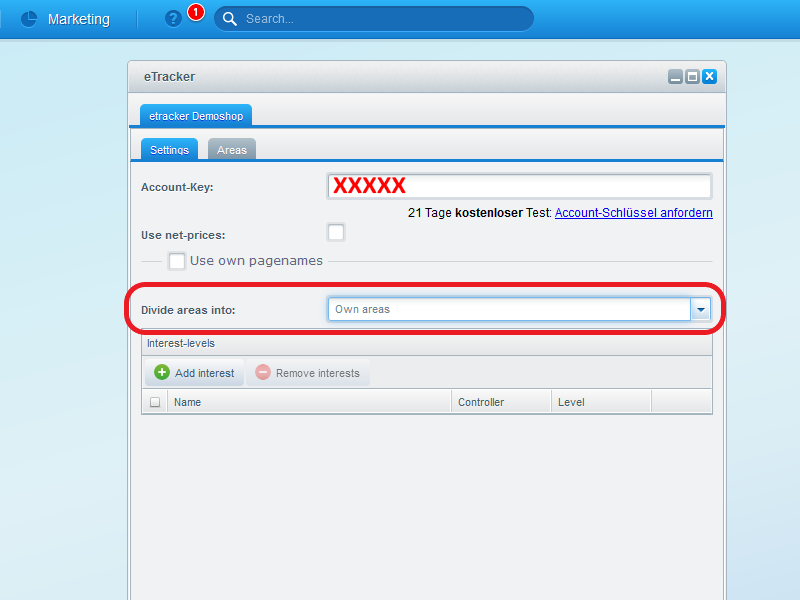
Then the Areas tab becomes clickable and can be used to set your own areas.
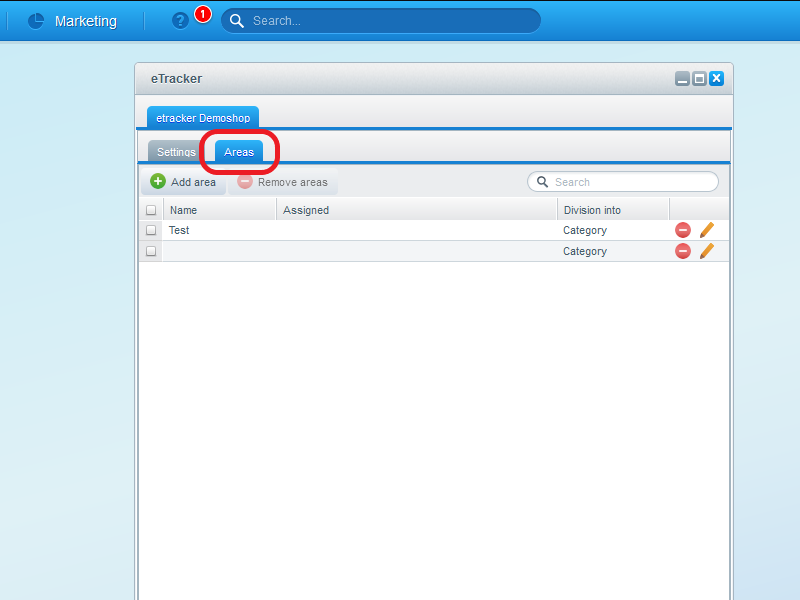
The creation of the areas can be done automatically under Division into:
Controller
The frontend controllers existing in Shopware define the areas, e.g. all article detail pages count as one area, all categories count as one area, the account page, the index page, each count as a separate area.
Categories
Here the categories specified in Shopware are defined as a separate area each.
Language stores
Here the stores in the same language become one area.
